This blog post contains details of Linux Mem Diff Tool, this tool uses Volatility advanced memory forensics framework to run various plugins against the clean and infected Linux memory image and reports the changes. Similar tool to perform diff analysis on the Windows memory images can be found here
Why this tool?
Many times while doing memory analysis (or malware analysis) an analyst would be presented with lots of data and analyst has to manually find the malicious artifacts from that data which takes time and effort. This tool helps in solving that problem by comparing the results between the clean and infected memory images. This tool helps speed up analysis, reduce manual effort and allows you to focus on the relevant data.
Configuring the Tool
After downloading the tool, the first step is to configure the tool. Open the script with text editor and populate the variables show in the screenshot with the path to the Python interpreter and path to the Volatility. Now the script should be ready to run

Tool Options
The screen shot below shows the usage options

-c path to the clean memory image
-i path to the infected memory image
-p profile for the memory images, the profile for the clean and the infected memory image has to be same. The profile can be created by following the procedure mentioned here
-o path to the file where analysis results will be stored, this is an optional argument. If this option is not given the analysis results are stored in “final_report.txt” in the current working directory.
-v performs verbose diff analysis. This is again optional.
By default the script performs non verbose Diff analysis by running most plugins against the clean and infected memory images. In the non verbose mode (default) it skips few plugins which takes some time. with -v option the script runs all the plugins including the slow running plugins because of which it will be slow and can take a while to complete.
Setting up the Environment
A 64 bit Ubuntu 12.04 Linux (running the kernel version 3.2.0-23-generic) was installed in a virtual machine (VMWare Workstation) and profile was created using the procedure mentioned here and also a clean snapshot of this VM was taken. Then the memory image was collected by suspending the VM. This is the clean memory image (clean.vmem) which can be used to compare against the infected memory images.
Diff Analysis using Linux Mem Diff Tool
a) Analysis of the First Sample (tsunami.vmem)
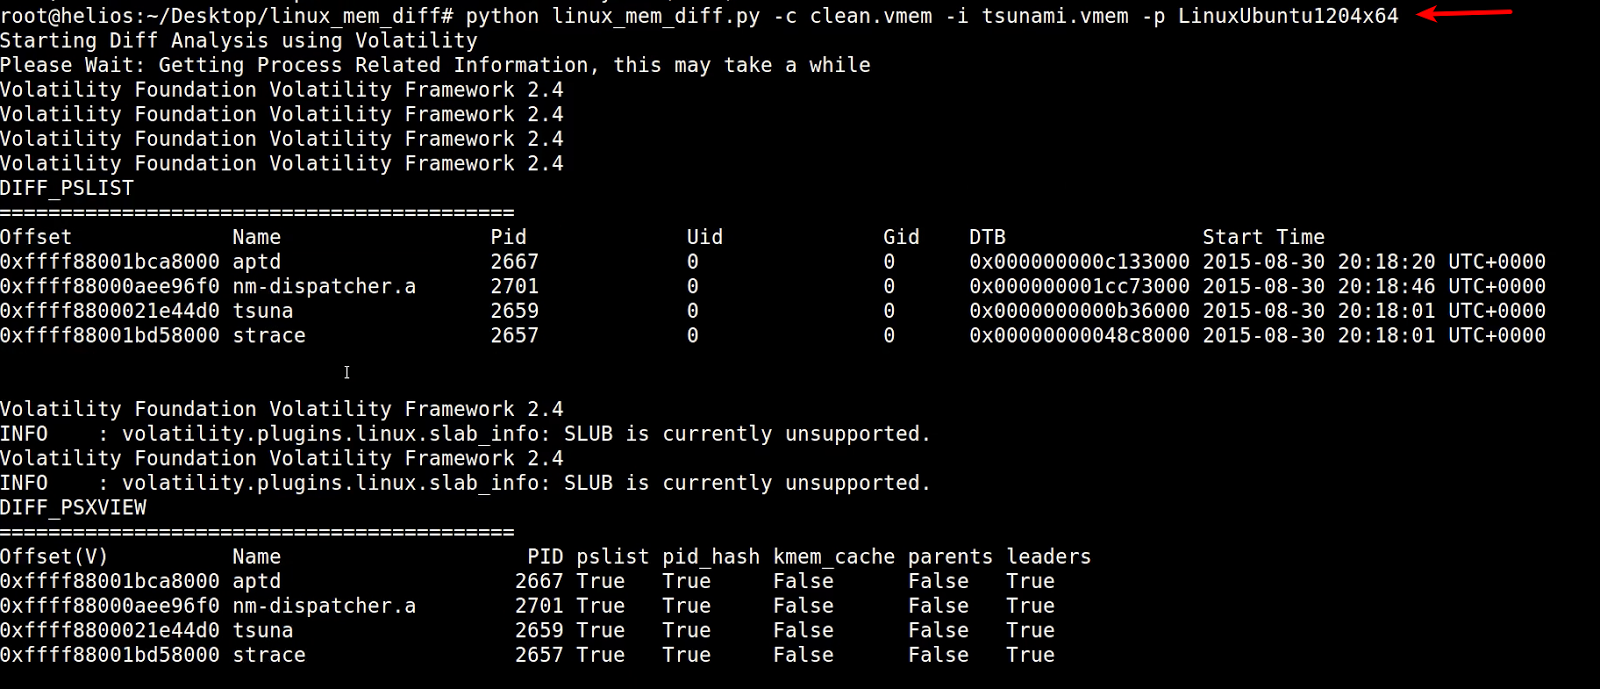
To perform Diff Analysis I reverted to the clean snapshot and infected the Linux virtual machine with a malware sample called Tsunami and then suspended the VM and took a memory image (tsunami.vmem) We now have a memory image infected with the tsunami malware.
Below screenshot shows the script in action.
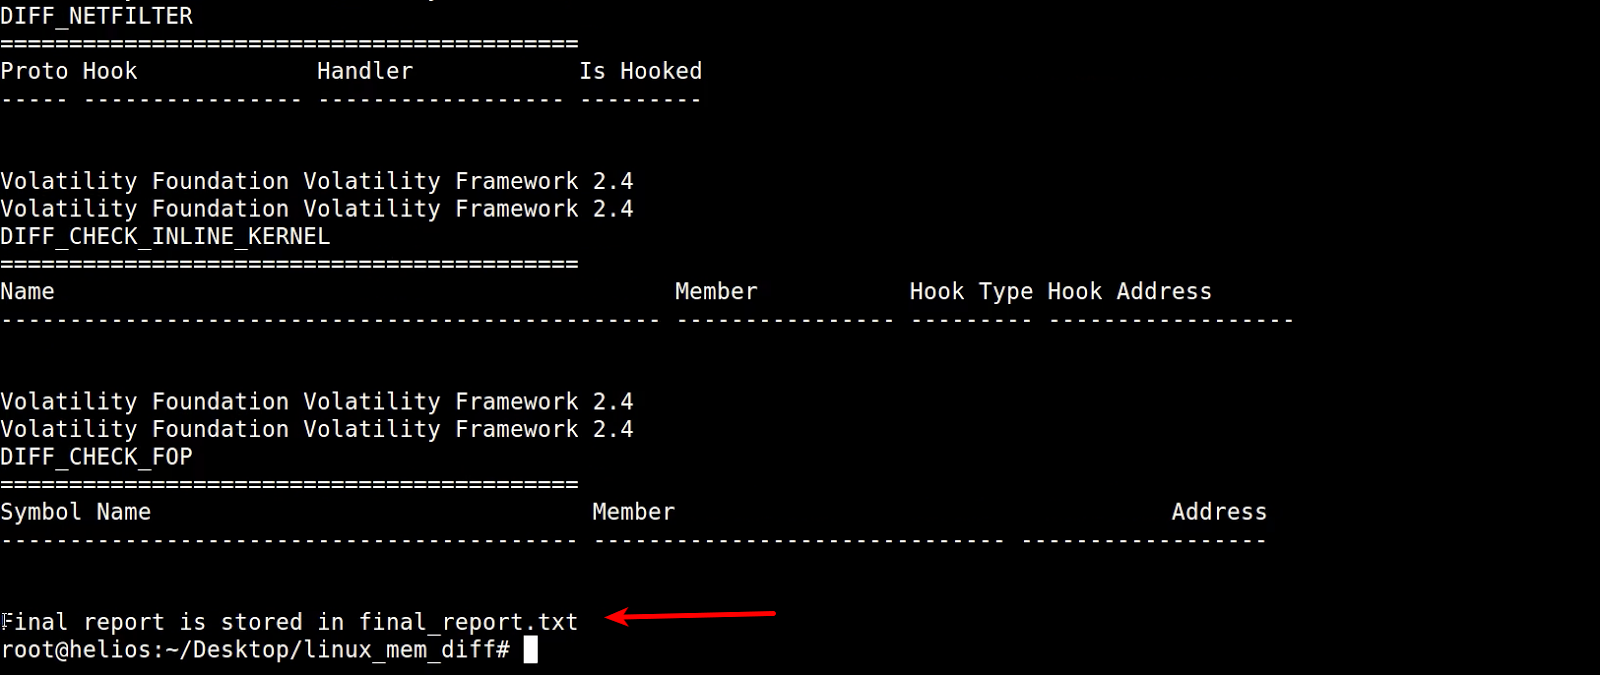
Since the script was run without -o option. The analysis results were stored in the “final_report.txt file” in the current working directory as shown below.
Below screenshot shows the analysis results. The tool performed diff analysis and displayed only those processes which are additional. In this case tsuna is the malware process. As you can see we now have very less data to look into.

The below screenshot shows only the network connections that are additional. As you can see the malware is making connections to the C2 ip 80.243.54.131 on port 5566

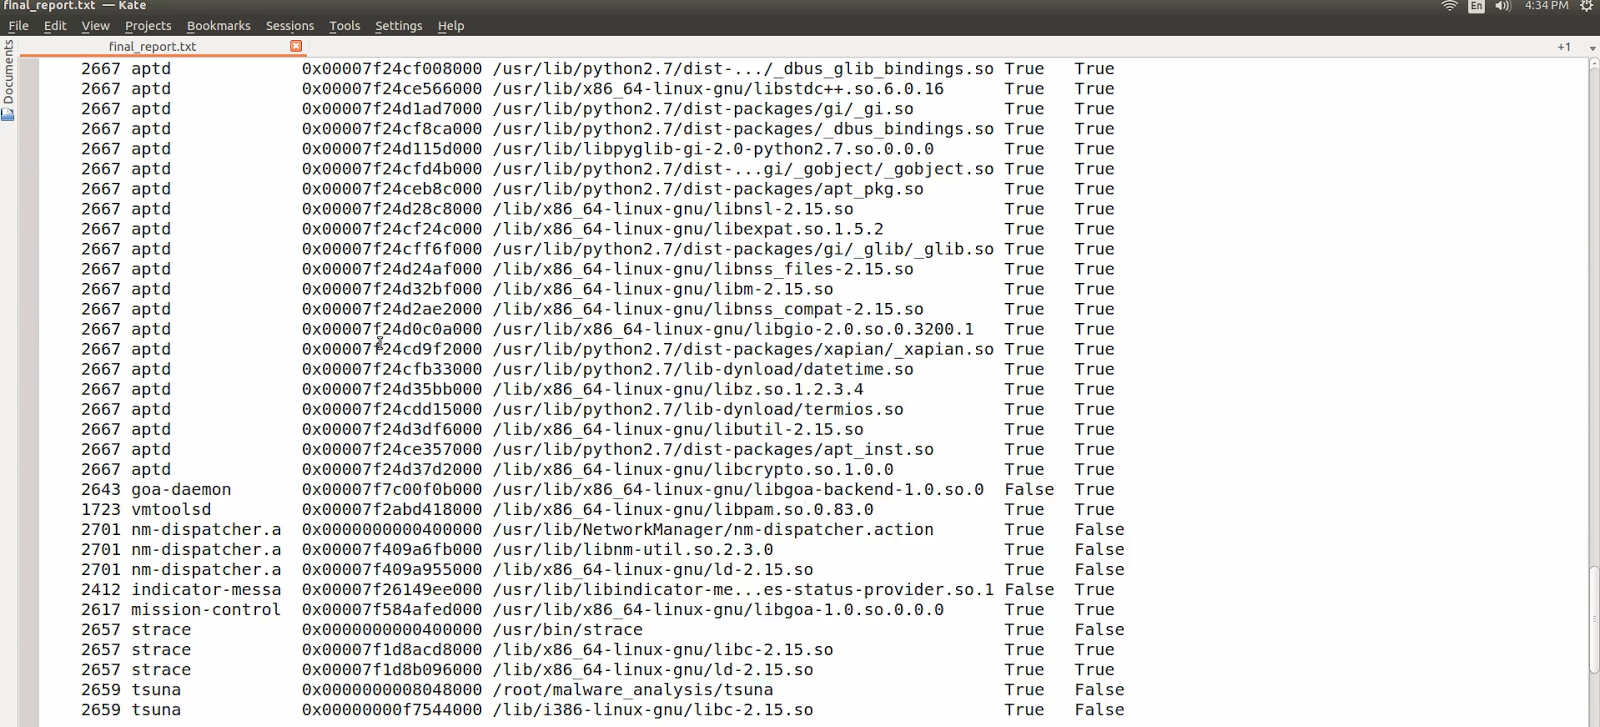
The script also performs diff analysis of the linux_library_list and linux_ldrmodules Volatility plugins. In both these cases the script displays all the shared objects of the processes which are additional and if a process is present both clean and infected memory images it will only display those entries where there is additional shared object, that way if a shared object is loaded by a legitimate process using LD_PRELOAD technique it will get detected. Below screenshot shows the diff analysis results of linux_library_list and linux_ldrmodules plugin.

In the below screenshot you can see that there are multiple entries for the process aptd (pid 2667) because this process is not present in the clean image. whereas you can see that there is only one entry for the process vmtoolsd (1723) this is because vmtoolsd process was present in both clean and infected memory image but the shared objectlibpam.so.0.83.0 it loaded was additional. These are not malicious
Video Demo Showing the Diff Analysis of Clean and Tsunami infected Memory Image can be viewed below
b) Analysis of the Second Sample (xingiquan.vmem)
Xingyiquan is a Linux Rootkit. It hides processes, files, directories, processes, network connections, adds backdoors, and more. To perform Diff Analysis I reverted to the clean snapshot and infected the Linux virtual machine with a Xingyiquan Rookit and then took the memory image (xingiquan.vmem).
The script was run against the clean.vmem and xigniquan.vmem as shown below. Also notice the -o option, this will store the analysis results in xingiquan_report.txt file.

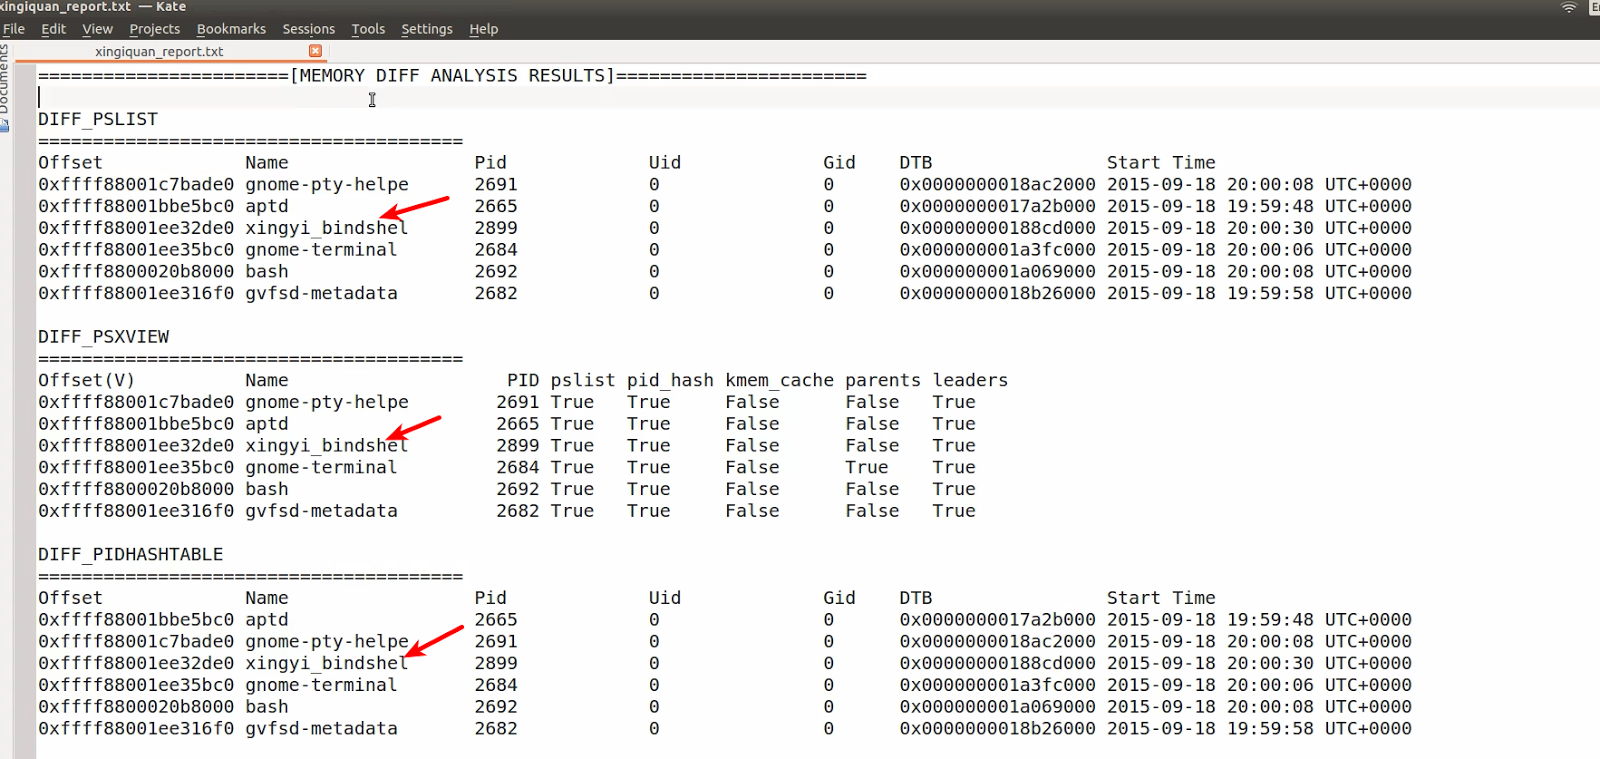
After performing diff analysis the results were stored in xingiquan_report.txt as shown below

From the report you see the additional processes in the xingiquan.vmem, also notice the process related to the Xingyiquan Rootkit.
The below screen shot shows the Rootkit bindshell on port 7777

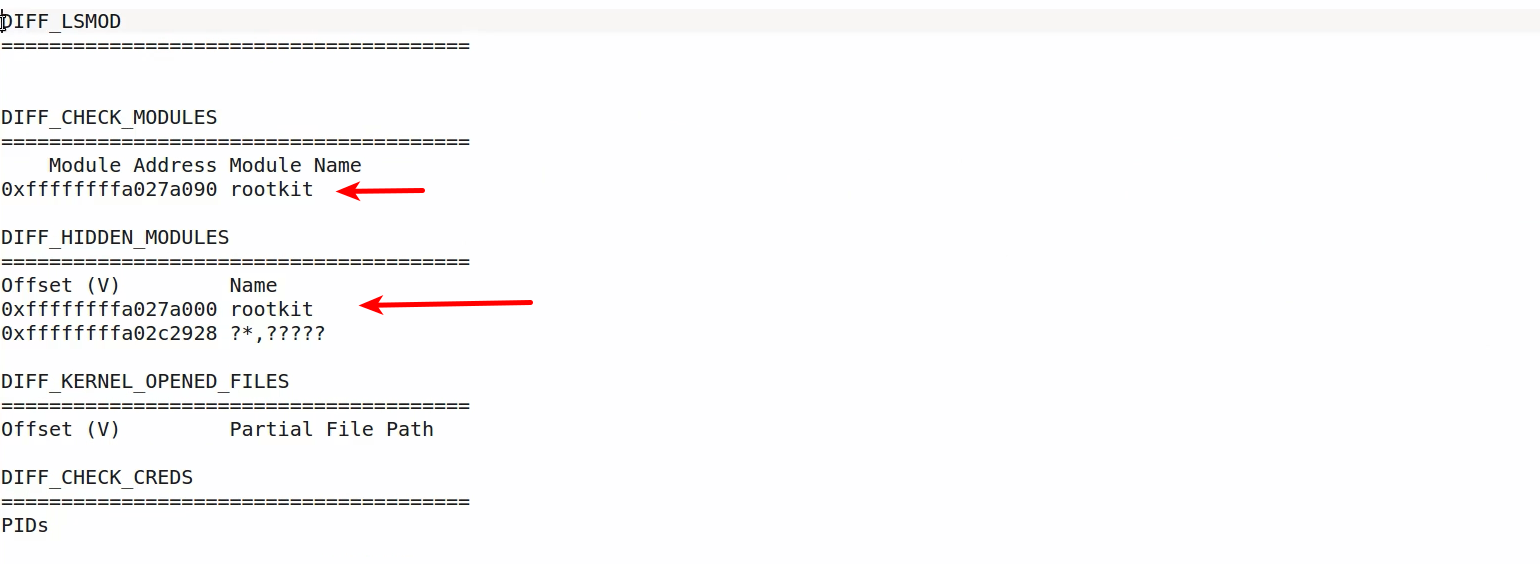
The below screenshot shows that Xingyiquan’s hidden kernel modules. The Rootkit hides its kernel module from the modules list and the sysfs

In the screenshot below you can see all the function pointers modified by the Rootkit in the syscall table

The screen shot below shows the bash history extracted from the infected image and it also shows the commands that were used to install Xingyiquan Rootkit

Below screen shot shows the PRE_ROUTING hooks installed by Xingyiquan Rootkit

Video Demo Showing the Diff Analysis of Clean and Xingyiquan Rootkit infected Memory Image can be viewed below
c) Analysis of the Third Sample (avgcoder.vmem)
To perform Diff Analysis I reverted to the clean snapshot and infected the Linux virtual machine with a Average Coder Rootkit and then took the memory image (avgcoder.vmem)
The script was run against the clean.vmem and avgcoder.vmem as shown below.

The analysis report shows the hidden modules of Average Coder Rootkit
Below screen shot shows the file operation hooks installed by the Average Coder Rootkit

Video Demo Showing the Diff Analysis of Clean and Average Coder Rootkit infected Memory Image can be viewed below
Conclusion
In this blog post we looked at you how to configure and run the linux mem diff tool . we looked at the analysis of Tsunami, Xingyiquan Rootkit and Average Coder Rootkit and saw how the tool can help speed up analysis, reduce manual effort and help us in focusing on the relevant results.
Special Thanks to core developers of Volatility Michael Ligh (@iMHLv2), Andrew Case (@attrc), Jamie Levy (@gleeda) for being an inspiration and for their encouragement.